Building a film arched greenhouse with our own hands
Even an unheated film greenhouse in the backyard is not only an opportunity to get early radishes, onions and greens, but also to get a much earlier harvest of tomatoes and cucumbers, which at the same time will not depend on the vagaries of the weather and, accordingly, the unexpected development of diseases. So the opportunity to harvest, for example, tomatoes, stretches until the first severe frosts. And the last fruits gathered in front of them, ripening, will delight the table for a long time.
We decide on the site for the greenhouse
To begin with, we decide on the site for the location of the building. At the same time, it is desirable to take into account the priority of winds, to reduce the load on the structure, all-round coverage of the sun without shading by buildings and trees. But if a tree or a small structure casts a shadow in the morning or in the evening, it will not be a big problem.
In our case, it was a designated unplanted (the season was already in full swing, the greenhouse was the last to be taken up) plot of approximately 8 by 6 meters, which was intended for this structure. A young apple tree partly provided shade from the east, but on the other hand it protected from the wind. It is already known that in the spring the apricot freezes on that side during frosts. And the shadow from it and from the grapes nearby are not significant.
The prevailing strong northwesterly winds fall on the corner of the greenhouse, with overturning through the arch, so the wind load is acceptable, as shown by the recent storms.
Materials and tools for work
After a detailed inspection of the place for the future greenhouse, for reasons of circular access, open doors, etc., the dimensions for the greenhouse were determined approximately 6 (length) by 5 (width) meters. From the beginning, it was assumed that the greenhouse could be moved to another place (if needed or to change the soil), so the structure had to be demountable (at most - a screwdriver or a screwdriver, if only without a film). Based on this, we began to select the material. Of course, metal needs to be bought, and we decided to make do with what was available for wood, in particular, Euro pallets in good condition and rails and unsorted beams left over from the construction.
The experience of installing and operating a film greenhouse made of factory arches of Soviet production (from a dismantled greenhouse complex) was already available, as was the experience of repair work on it, combined with the replacement of the film. But the transfer of this structure was determined to be impractical, primarily due to the length of the arches (about 8 m of the chord), which had to be transferred 30 km away. So it was decided to cook the greenhouse with our own hands.
Of course, for this, a tool and consumables are needed, with the help of which the plan will be implemented, namely:
- a grinder;
- a brewing device (inverter);
- electrodes (we used a big bunch);
- sliding pliers, clamps;
- a hammer, a sledgehammer;
- a disc electric saw; it will be more complete);
- електрорубанок (можна було обійтися, але хотілося гарного результату, та й плівка цілішою буде);
- other metalwork trivia (screwdrivers, pliers, side cutters);
- roulettes, including 20 m long (there was already one).
I also needed twine for marking and checking the diagonals.
For a light construction, it was decided to take a metal profiled pipe 15x15 mm and a rod with a diameter of 10 mm. For a length of 6 m, it was decided to make 8 arches.
For this, the following were purchased at the metal base:
- for the top of the arches, a profiled pipe 15x15 - 6 m long, - 8 pieces;
- for the bottom of the arches, a rod with a diameter of 10 mm and a length of 3 m, - 16 pieces (and the same amount for reinforcing the arches and other needs, including connections);
- for the posts, a profiled pipe 15x15 - 2 m long (but it turned out that it was possible shorter ones), - 16 pieces.
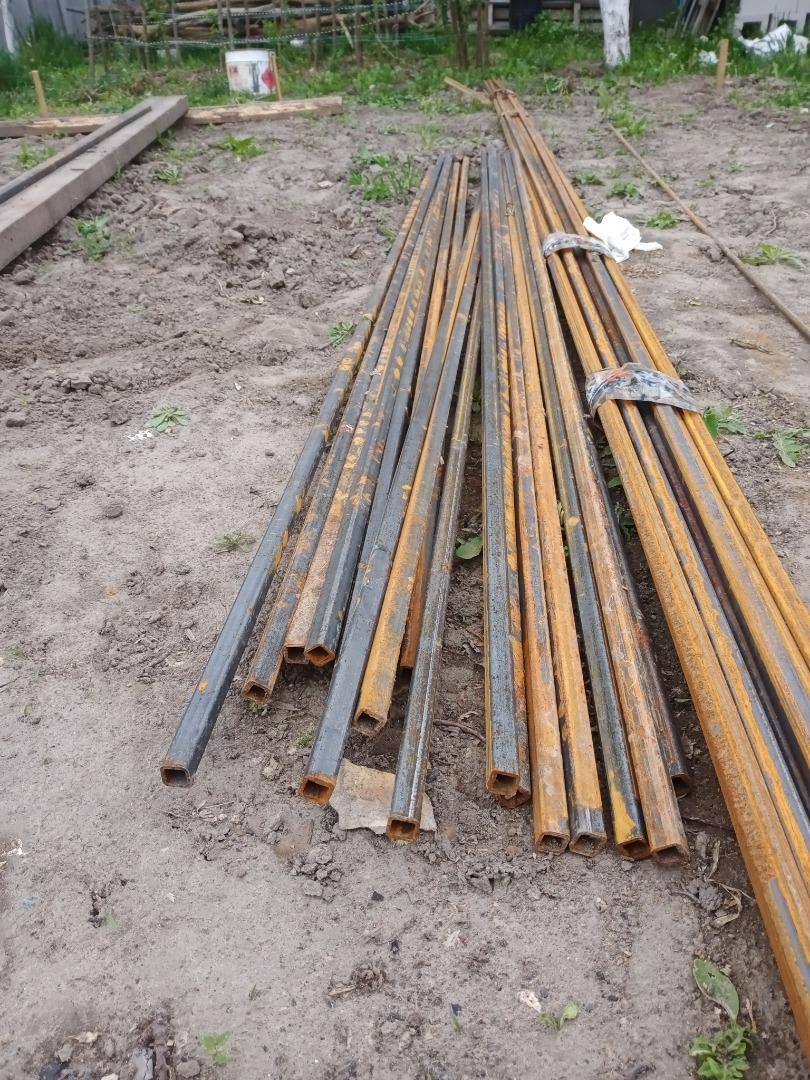
Prepared metal for greenhouse arches and racks.
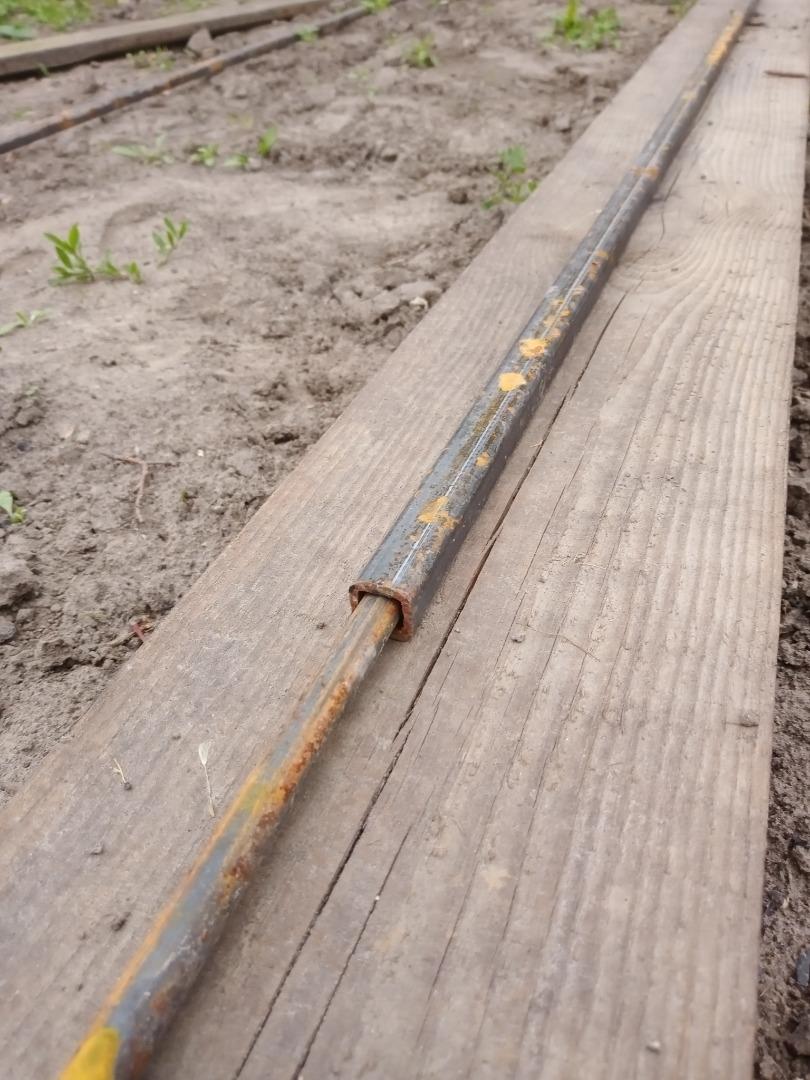
A profiled pipe 15x15 mm and a rod with a diameter of 10 mm fit together nicely for a minimum of welding and at the same time a tight fit for a collapsible structure. At the same time, an arch of such weight was obtained that the two of us could easily assemble the structure on the racks.
Of course, a large-sized vehicle was needed to transport such a length, for which many thanks to the neighbor with the bus. There was no tool for arc rolling on the metal base, but as it turned out, this is a rather expensive procedure. However, the final decision regarding the width and height of the greenhouse has not yet been made. And there were ideas on how to do it yourself, which we will talk about later.
Calculation of the dimensions of the arch of the greenhouse
To calculate the dimensions of the arch, the length of the profile pipe 15x15 with the length of the arc of 6 meters and the length of the chord of 5 meters for the manufacture of 1 arch were taken as a result. Because it was not known how the material would behave during the welding process, which in the end paid off.
In the network, I was lucky to come across a convenient online calculator for calculating the circle segment (https://planetcalc.ru/1421/), which was used for the calculation.
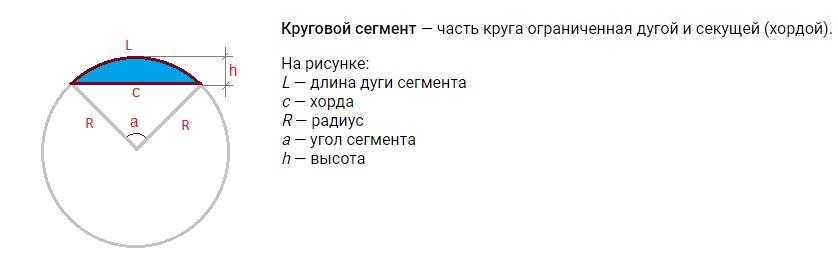
The figure illustrates the notation in the calculations
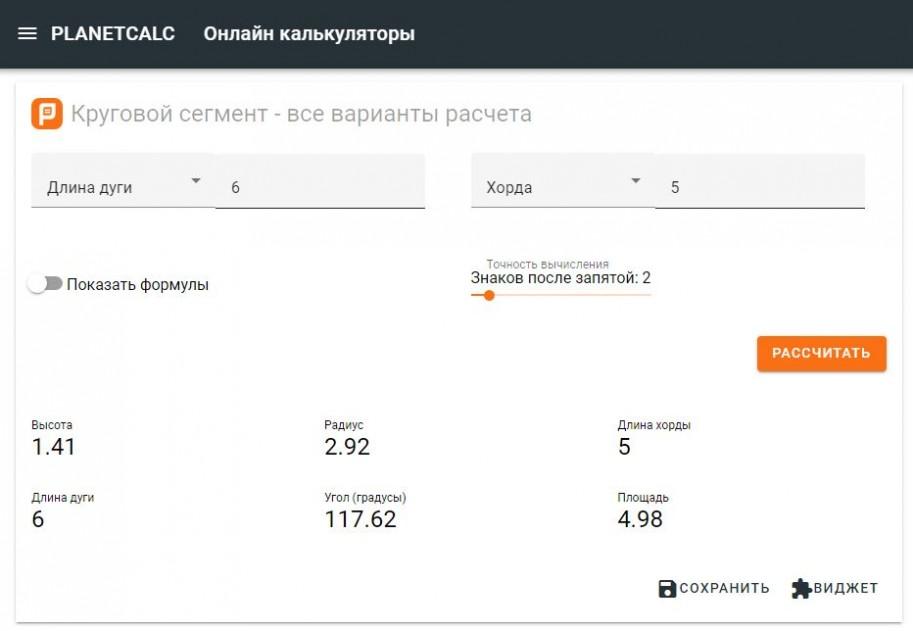
A fragment of the online calculator, with the help of which calculations were made (https://planetcalc.ru/1421/, calculation "Circular segment - all calculation options") with the calculated dimensions for our structure.
The resulting height of the arch was absolutely acceptable, while ensuring snow drift in winter and moderate wind load. And also - the height of the work in the greenhouse on tying.
From the calculator, we actually only needed the radius (2.92 m) and the height of the arch (1.41 m), the other dimensions were dictated by the blanks.
Manufacturing the arches of the greenhouse according to a homemade template
For implementation, we chose a relatively flat area on the site of the future greenhouse to mark the template. The well-compacted soil after winter also contributed to this.
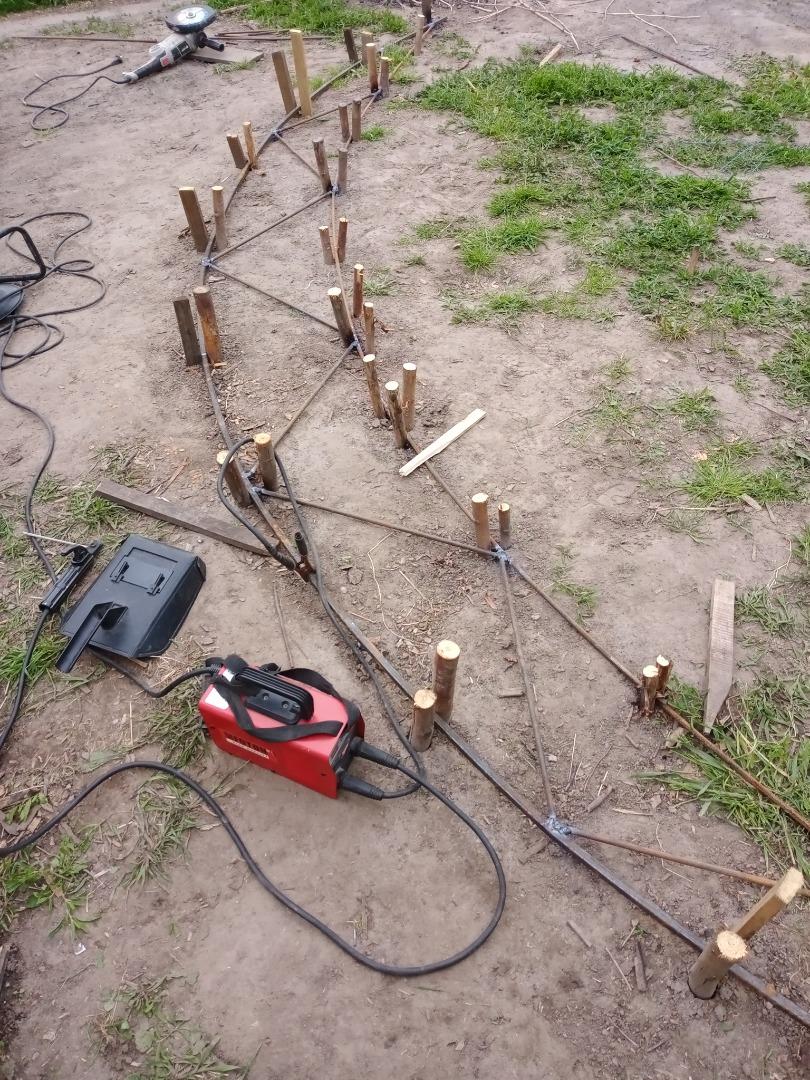
Further process in the photo.
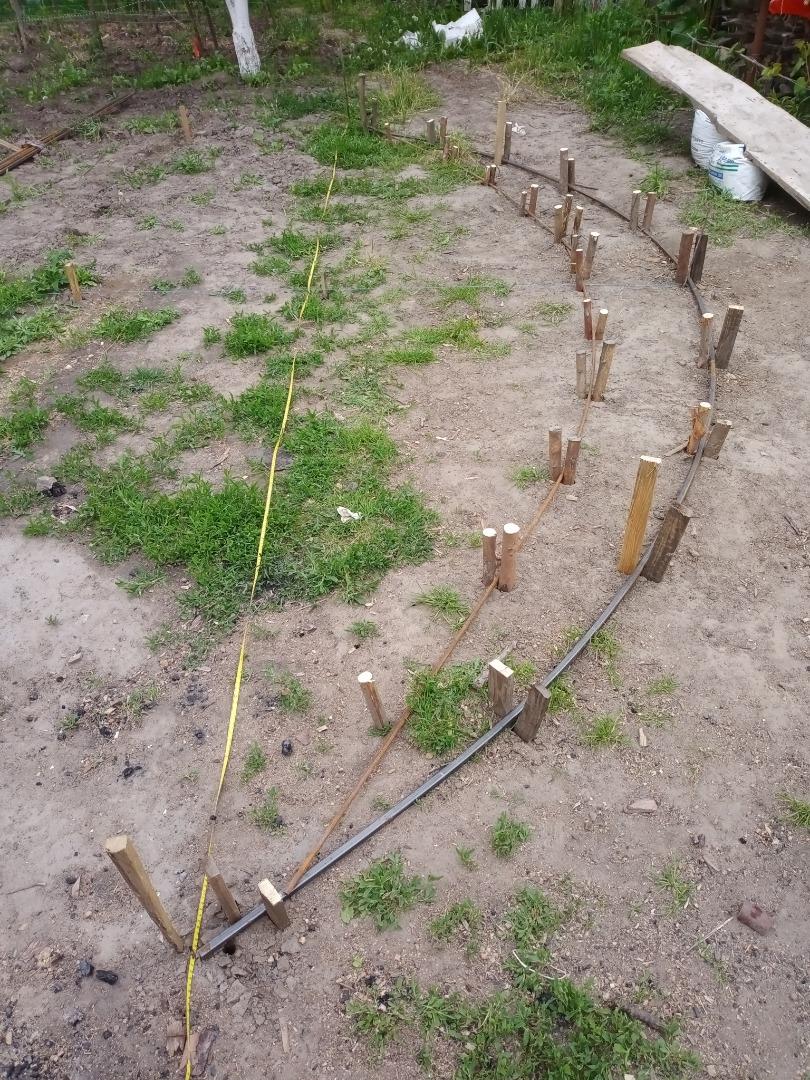
For the manufacture of arches, pegs 0.5-0.6 m long were used to punch out a template according to the dimensions. A 5-meter chord was taken as a reference, to which the center of the circle was found based on the height of the arch and its radius, then an arc was drawn with two pegs and a piece of twine.
Profiled pipe is flexible enough for this, so you can do without rolling.
The lower part of the arch was also punched out in 0.5 m increments from the center (top) of the arch at distances of 38 cm, 36 cm, 30 cm, 25 cm, 15 cm. This was done to some extent experimentally for the width of the arch, which suited and ensured the strength of the structure.

Center of circle, basis for marking. The radius of the twine is oriented in the photo to the center of the arch.
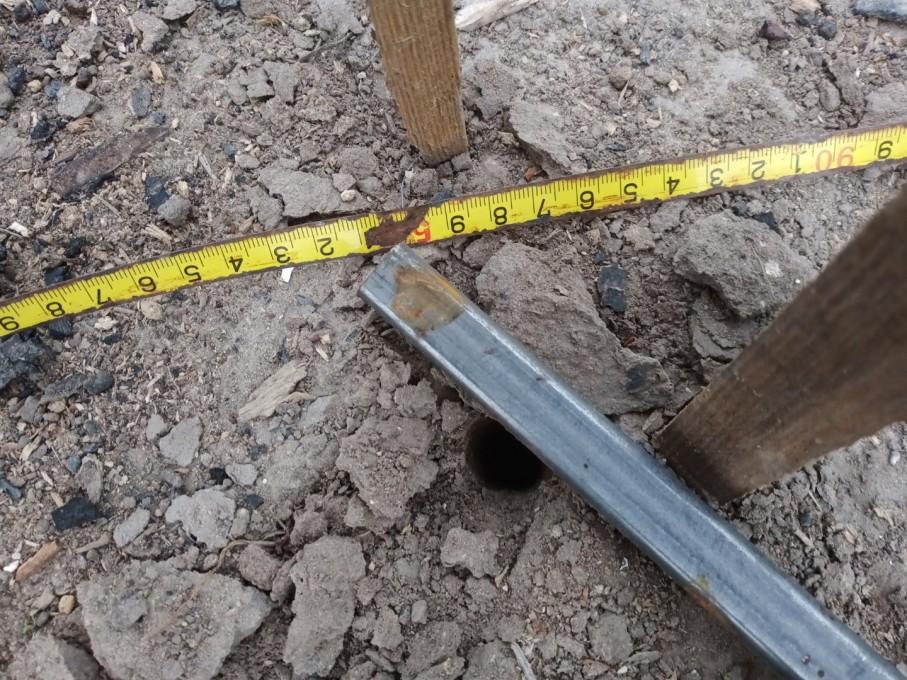
Checking the correctness of the template with the embedded profile. The chords were 5 m long.
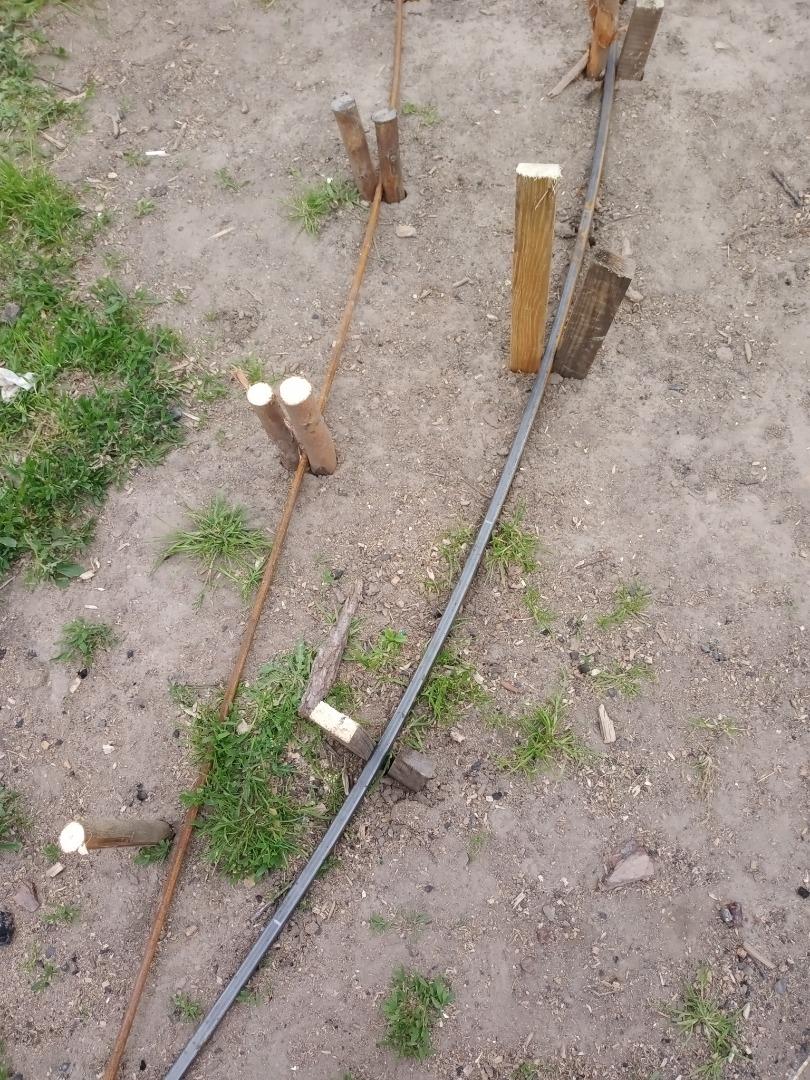
Marks on the profile, through which the dimensions of the bottom of the arch are reflected according to the above dimensions.
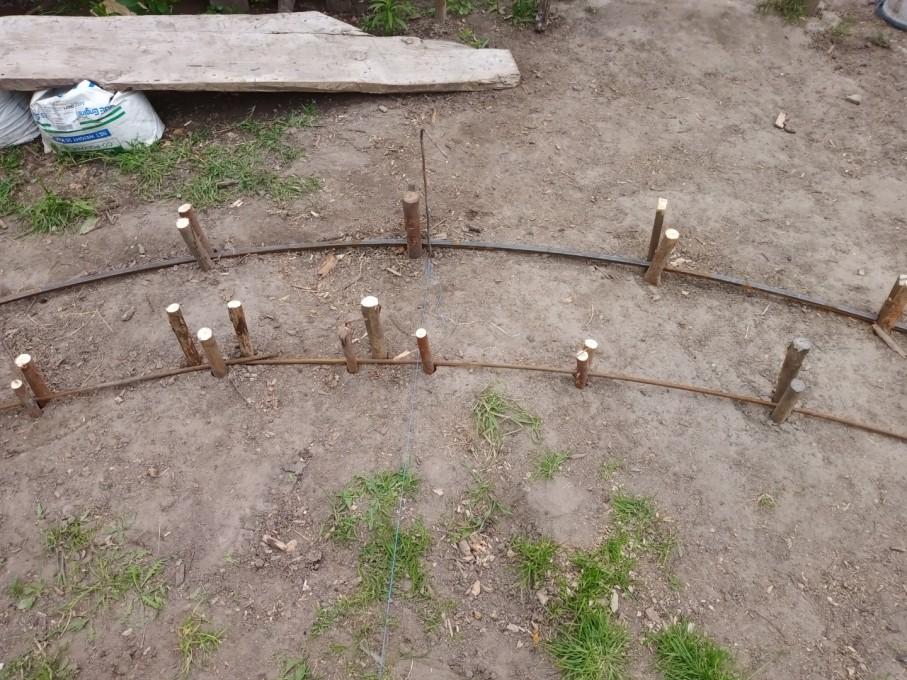
View of the marking from above.
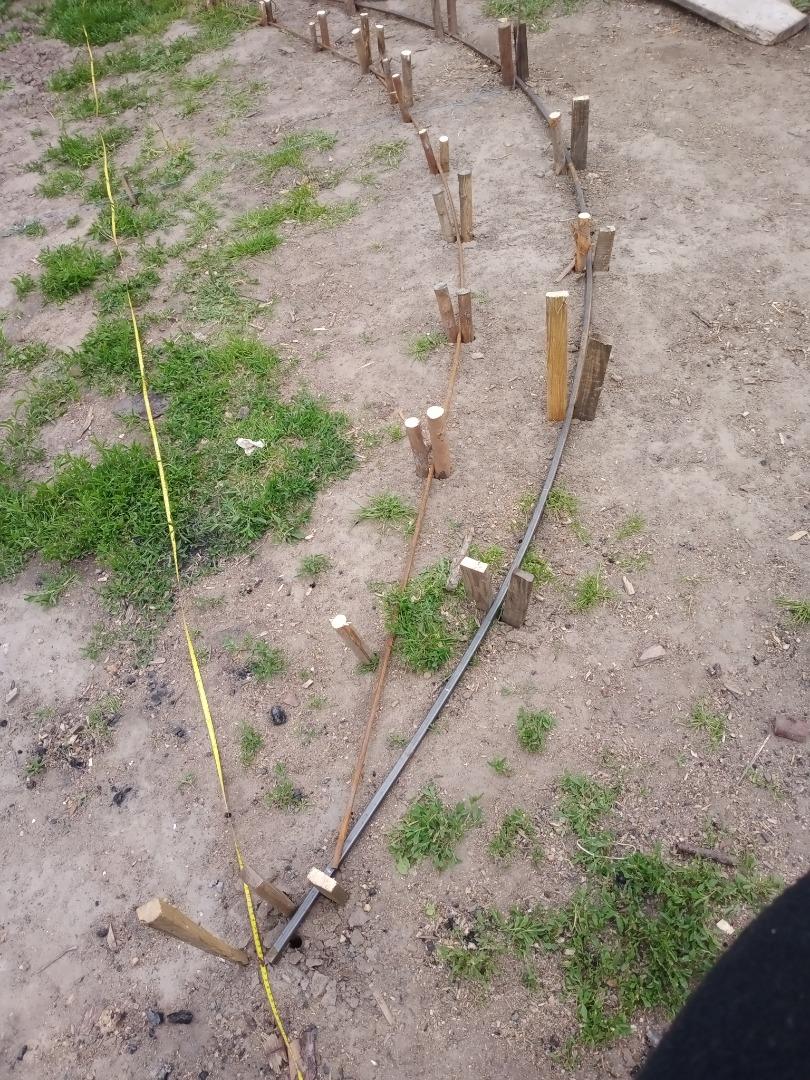
The lower part of the arch consists of two rods 3 m long with a certain excess. Before laying, it is advisable to cook them separately. At the ends of the arch, 15 cm of the profile remained for "hot" bending (heating with an arc) for a detachable connection.
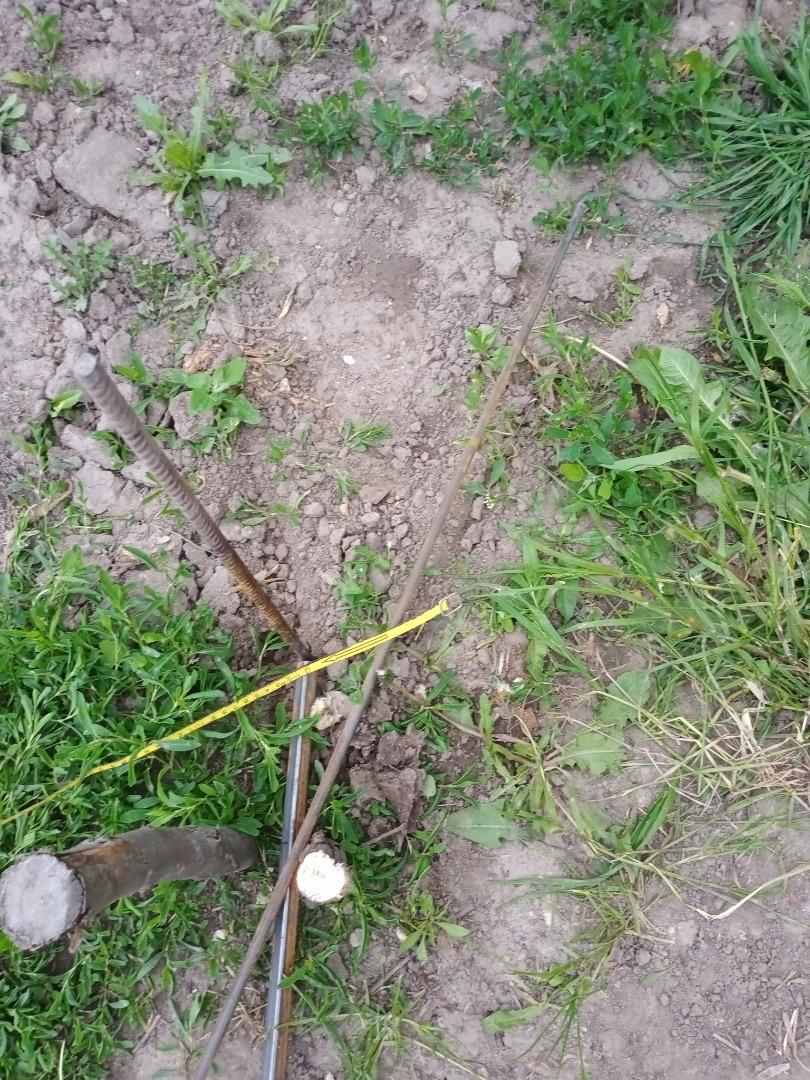
Excess of the lower part of the arch for trimming. The piece will go under the reinforcement of the arch.
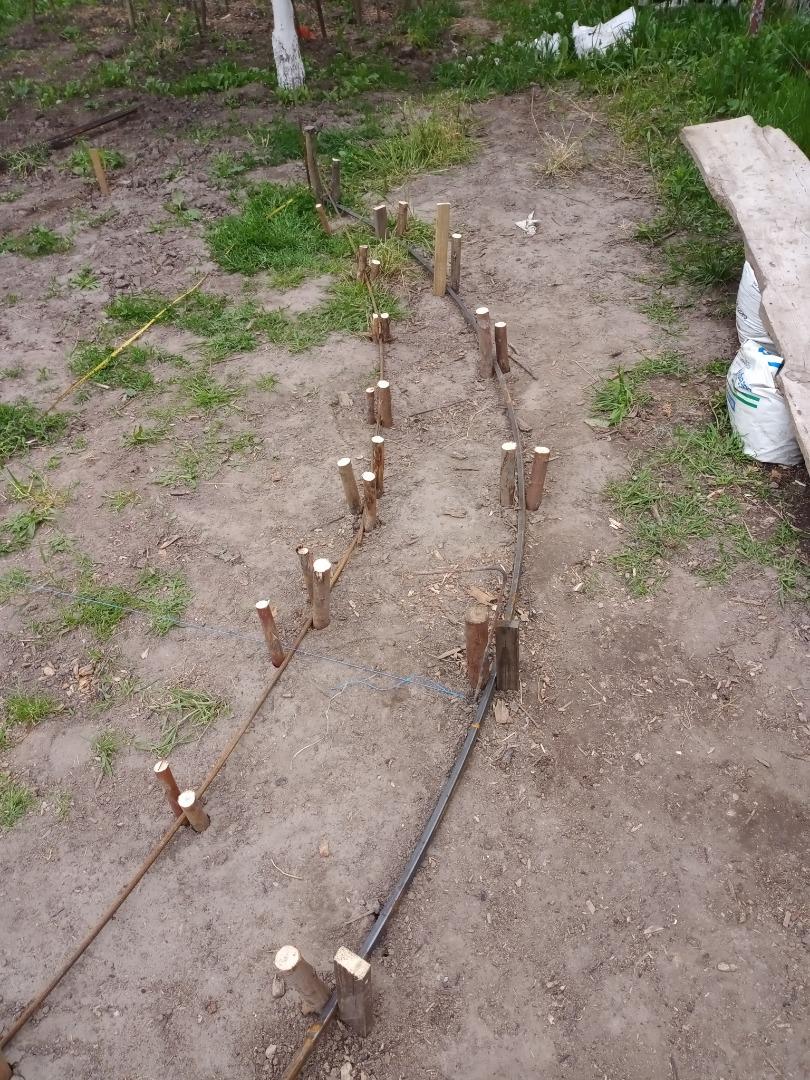
In the first arch, the lower part was not pre-welded, but already in place.
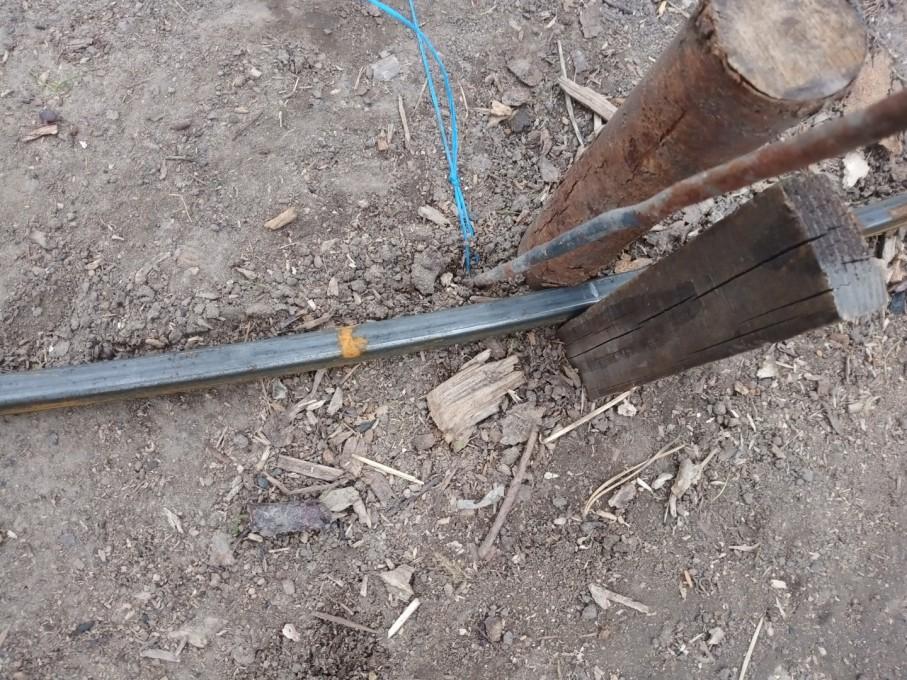
The center of the top of the arch. The profile was divided by the label in half and placed between the pegs (by the way, the strongest and thickest in the template)
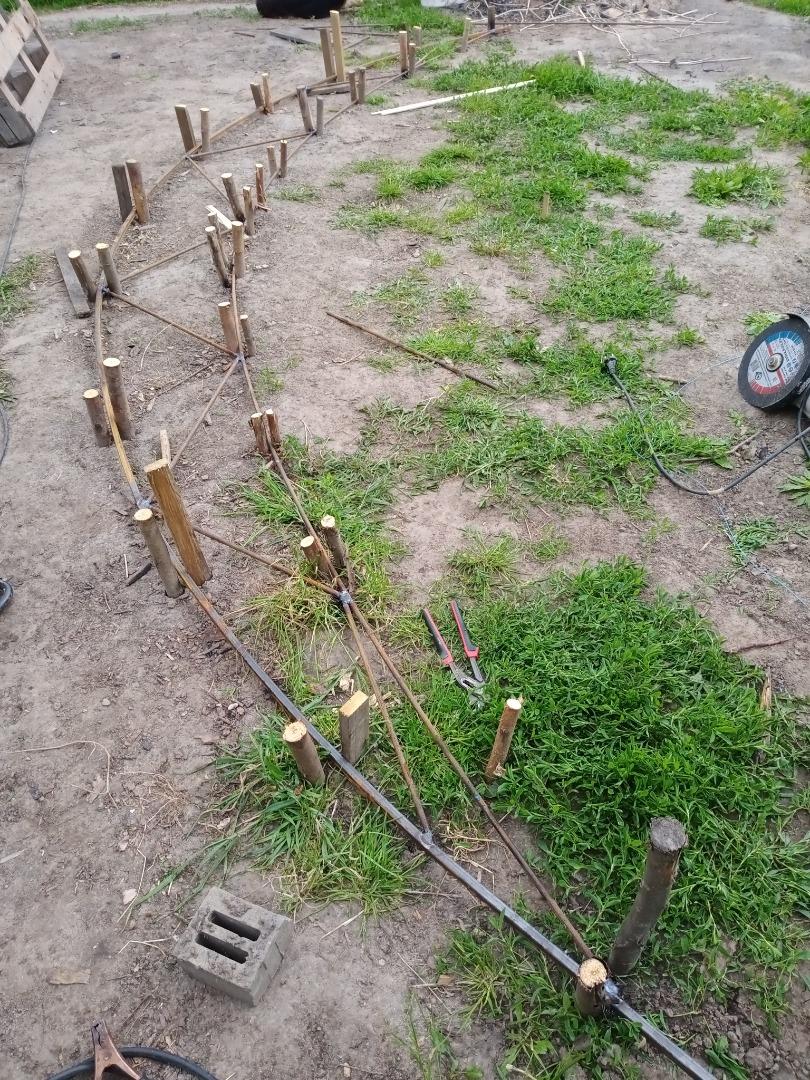
Further welding works. Pieces of rebar for reinforcement were determined by location and cut with a grinder. based on the center, marks on the outer arch after 50 cm and radial marks from them, punched out by the columns of the template on the lower part. It turned out to be somewhat inconvenient that the columns were punched out exactly on the marks, so it was somewhat difficult to bypass them in the work.
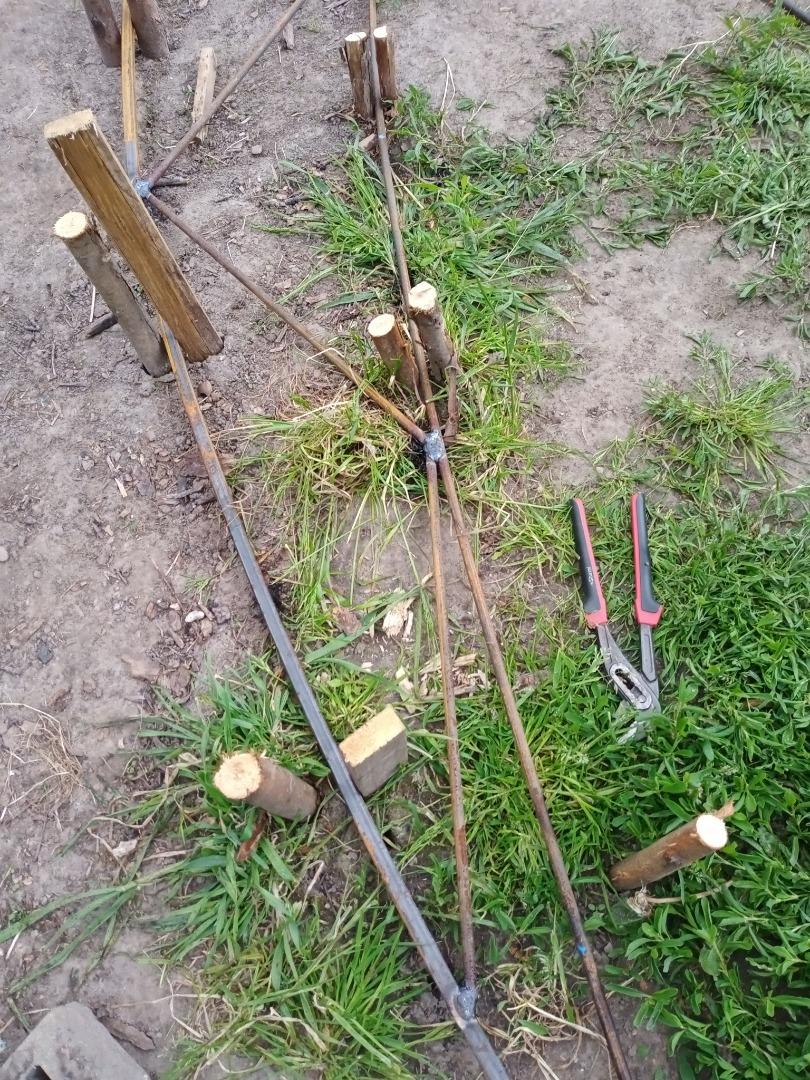
Welding method. Both sides were boiled.
It turned out to be unexpected that the profile was bent with twisting. So it had to be leveled by force and released by welding and fixed by reinforcement. This was not characteristic of the entire profile, but only of 3 pieces. Obviously, this is precisely the defect of the technology of its manufacture, and not the chosen technology for the arch.
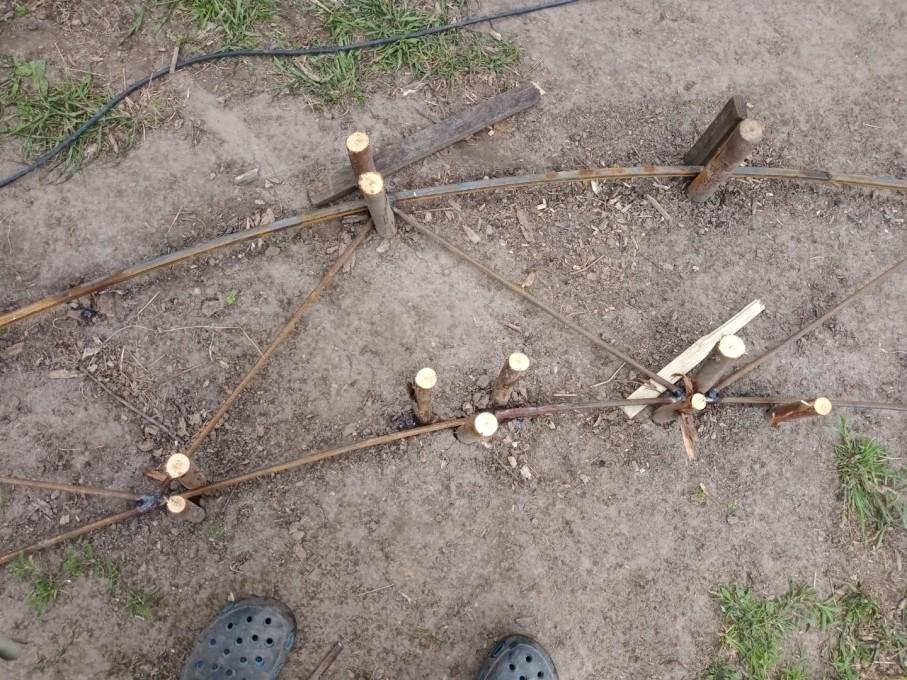
Just those uncomfortable places...
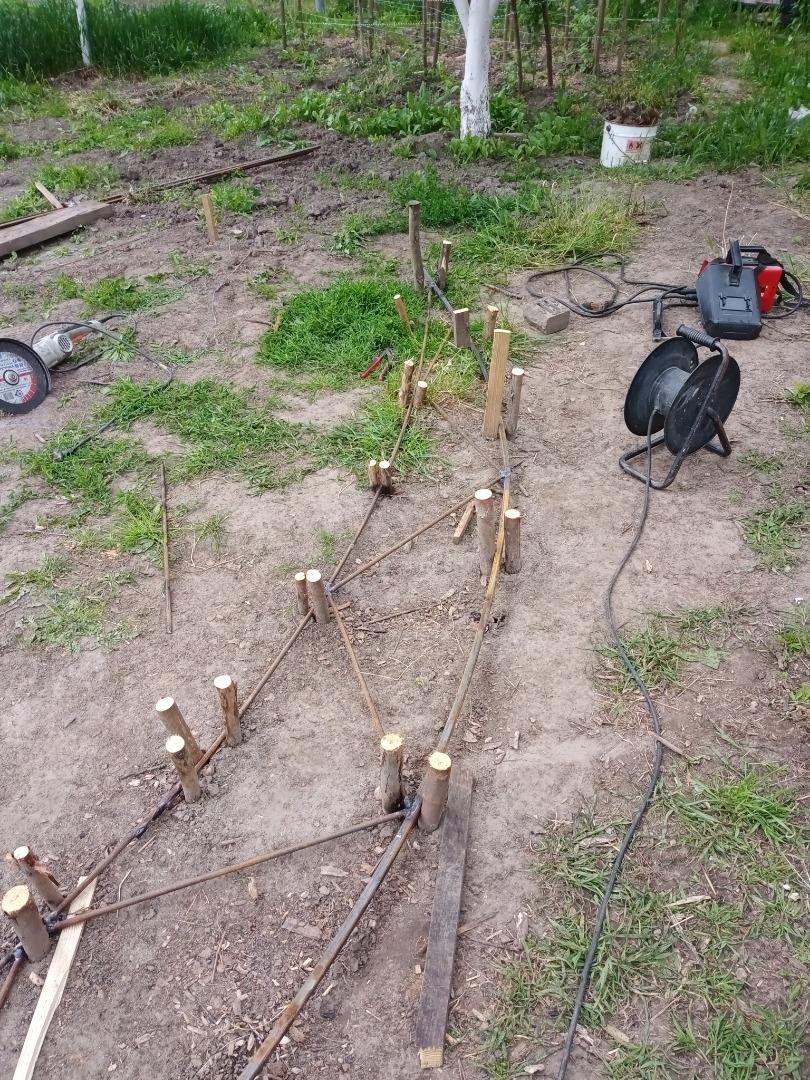
Another angle...
Finished arch. And 7 more of these, make and weld the lugs for fastening the tree, bend the ends of the arch and paint with 3 in 1 rust paint.
Overview of the finished structure and obtained real dimensions
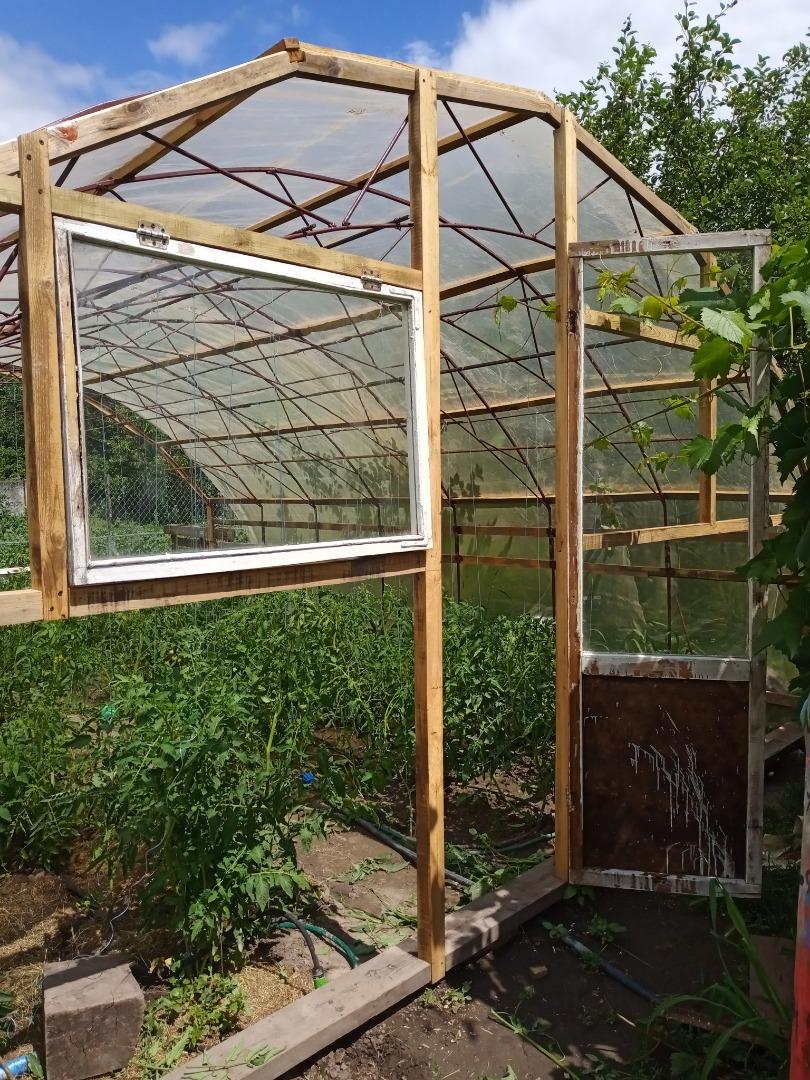
Finished structure, but not yet covered with a permanent film.
For the ends, existing wood and long-dismantled wooden windows and doors were used, but not completely, but only individually. The wood still needs protective treatment, but that will come later.
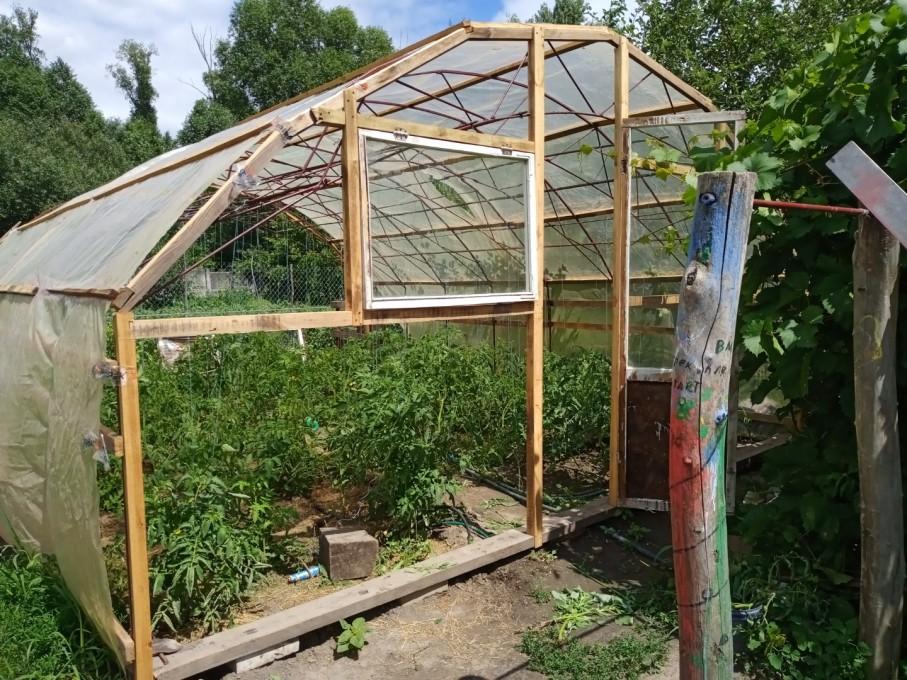
It remains to be covered with film.
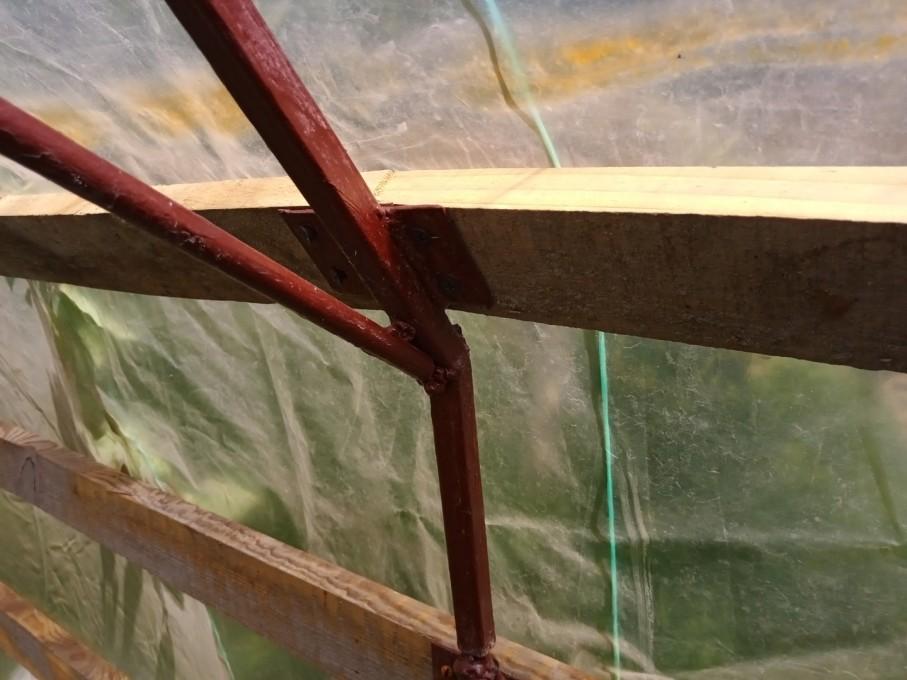
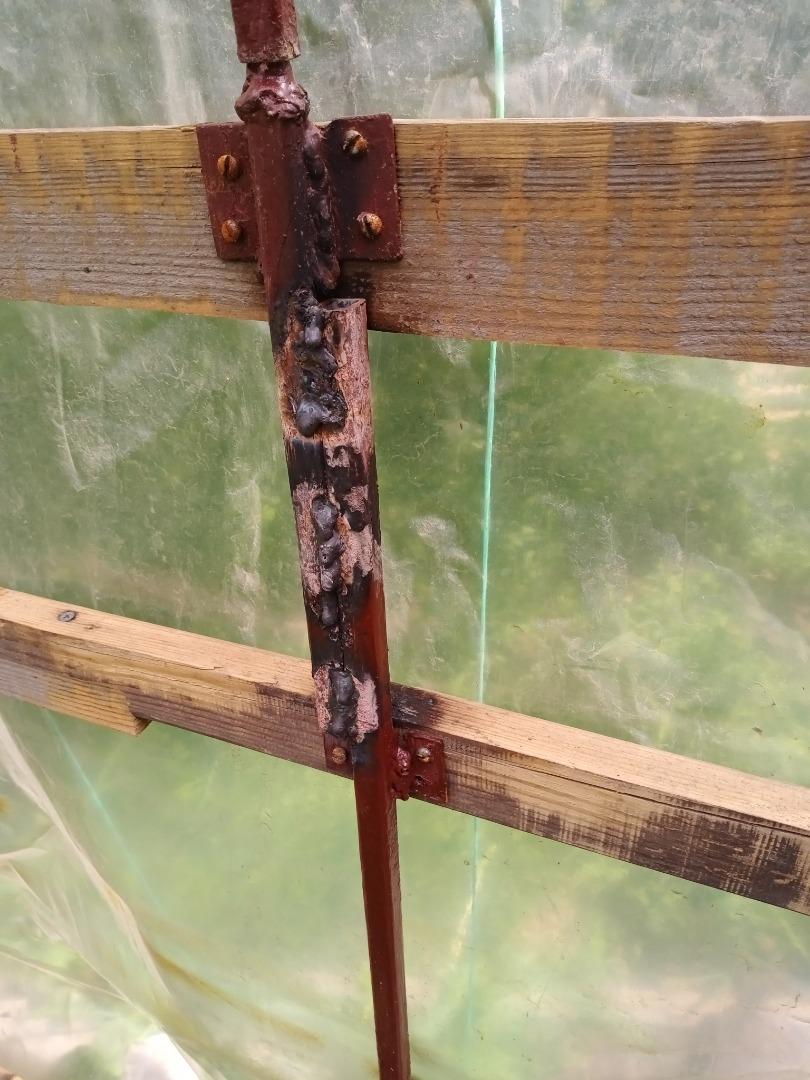
This is what the arch in the middle looks like for the collapsible connection. Hot bending is also reinforced by top welding. When bending, the profile partially tore, so holes had to be welded. The crate is wooden, from the boards of euro pallets.
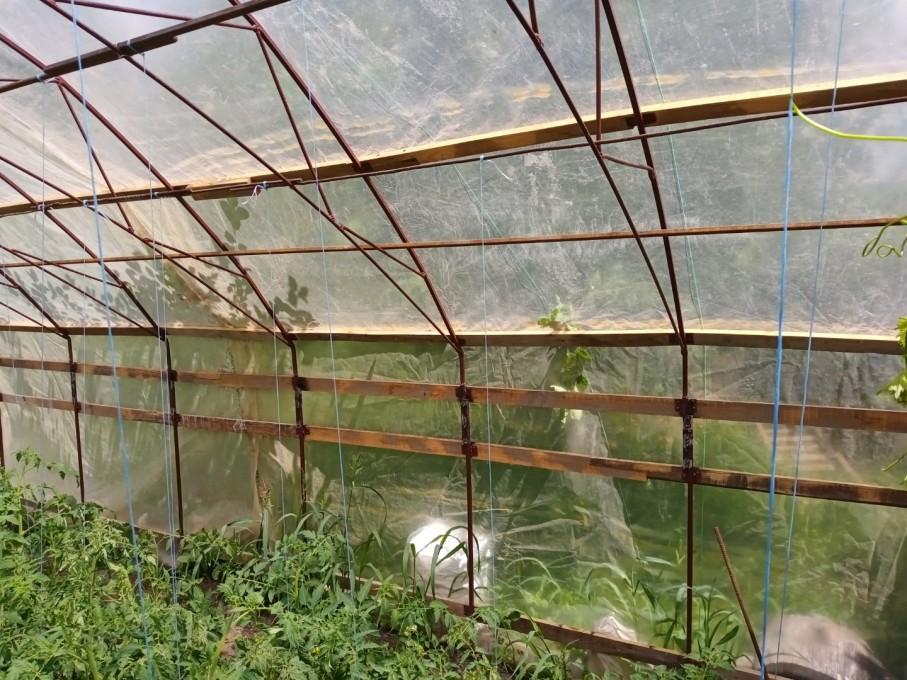
Construction from the middle.
And this is the consequence of using 2-meter racks: 50 cm went into the ground, but 1.5 m above it led to a too high structure, in particular for tying. So the already finished structure was shortened in place.
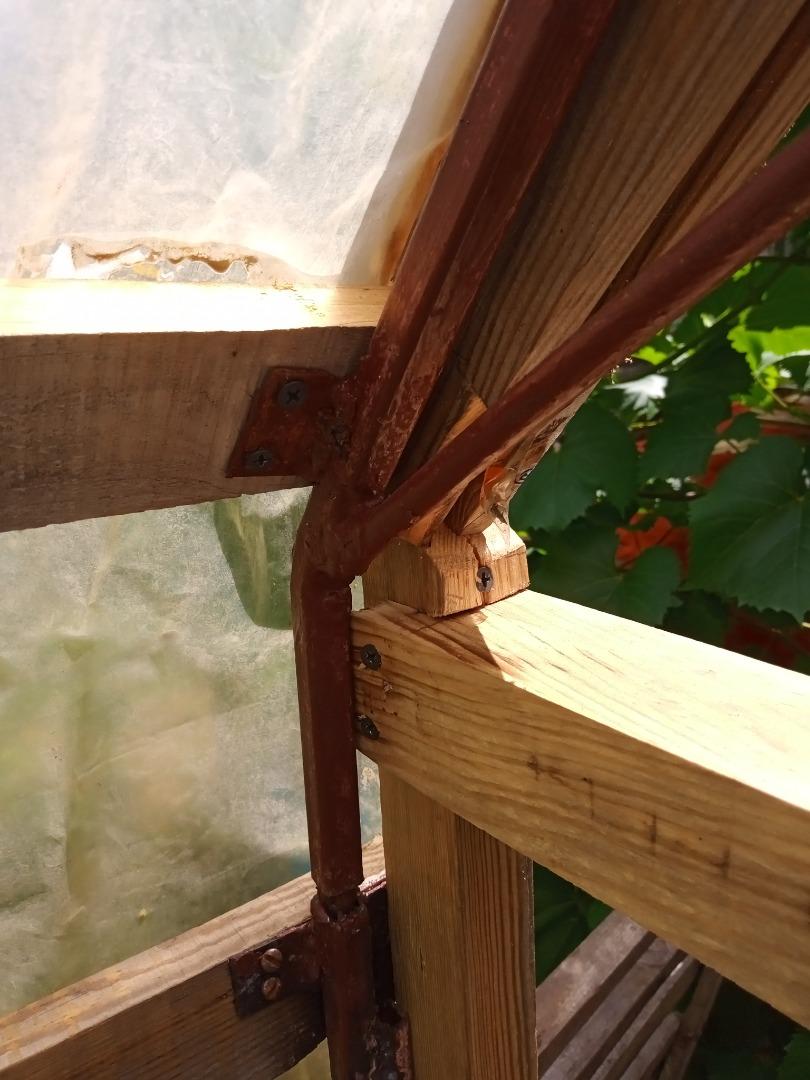
The corner is the southeast corner of the greenhouse. The collapsible connection of the arch and the rack is fixed by the side (in width) lath of the greenhouse.

Several laths of the lath are made solid to strengthen the structure and primary connection.
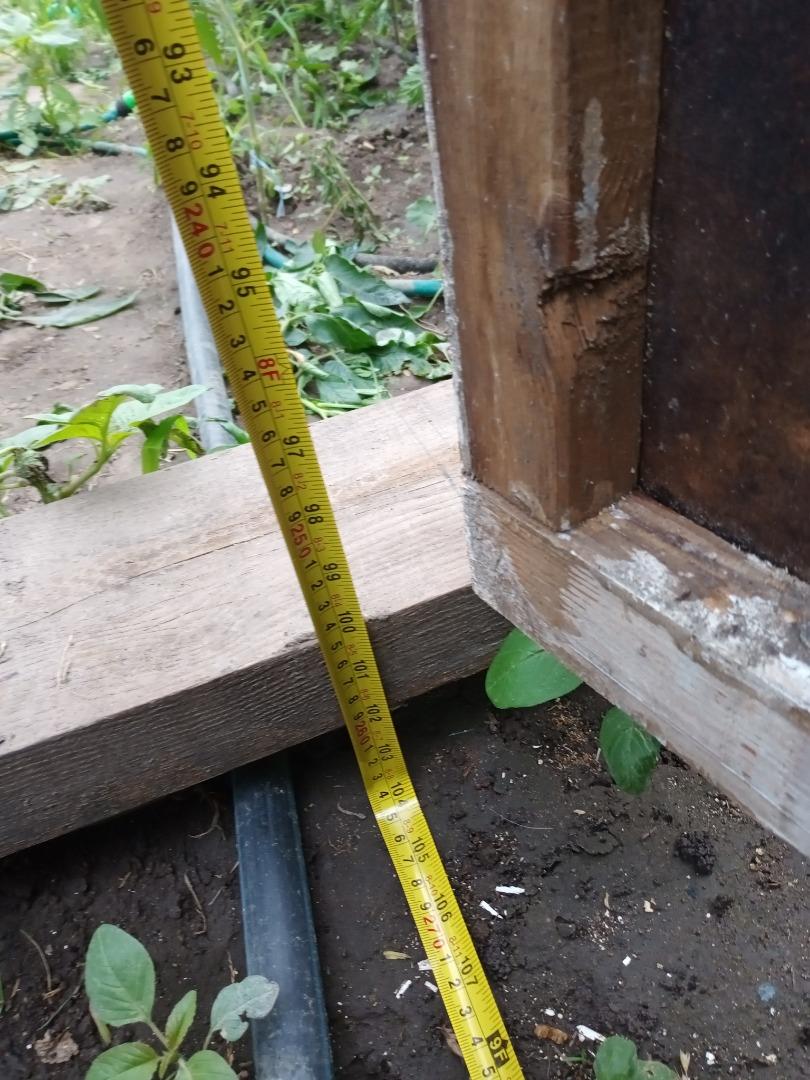
Final maximum height of the arch and wooden upholstery.
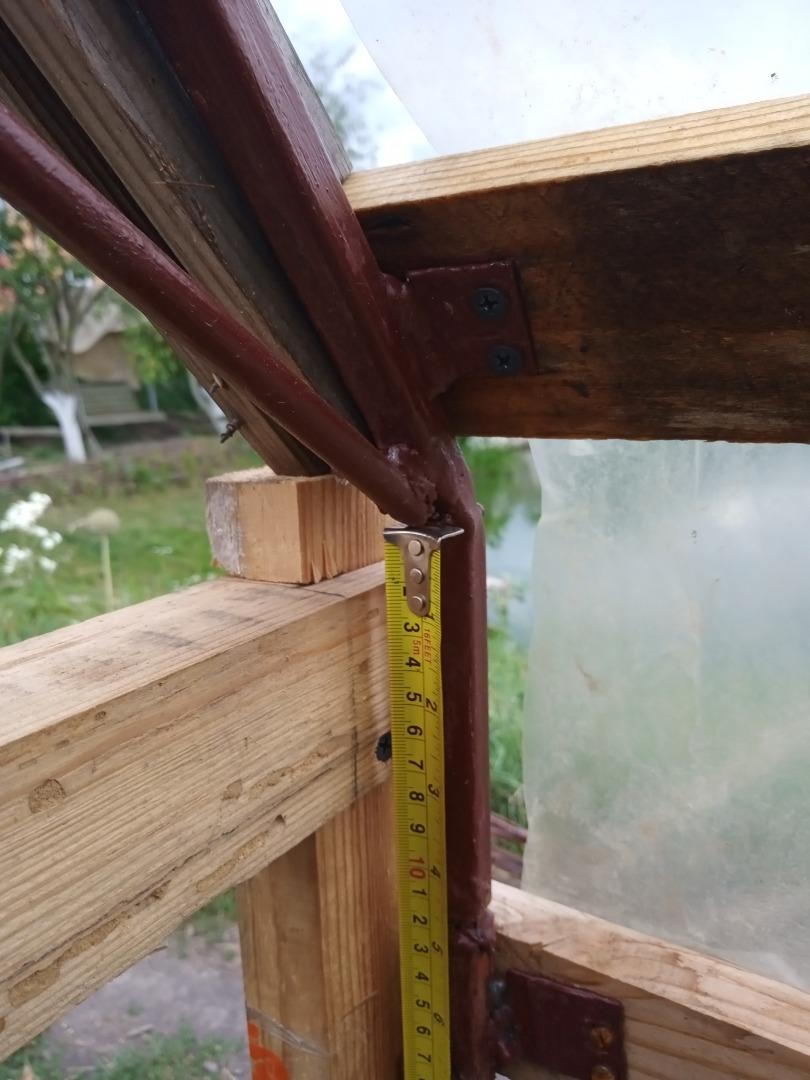
Height and design of the connection between the arch and the post. Fastening the wooden crate to the posts and arches with such lugs. Making them took some time, as well as finding the material. Currently, only metal tape with a thickness of 4 mm is on sale at metal stores!

Parts of pallets were used for wrapping. This does not affect the strength of the structure.
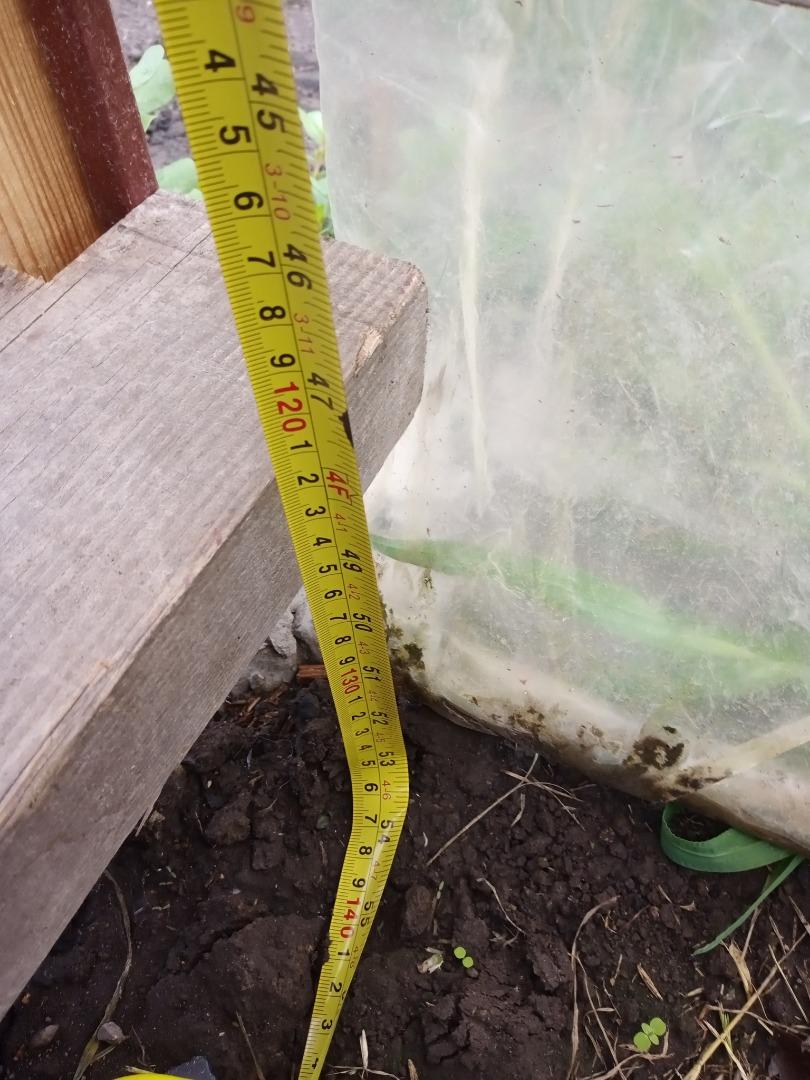
Final height of the side wall (originally planned to be 1.5 m)
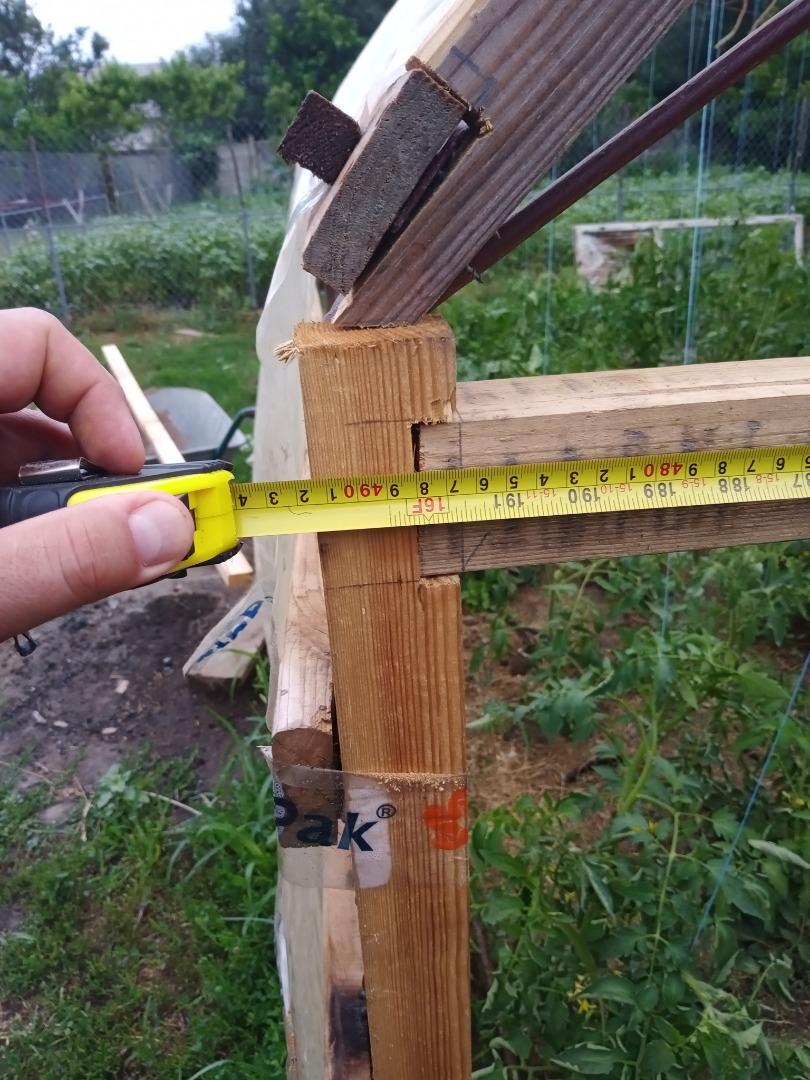
Final width.
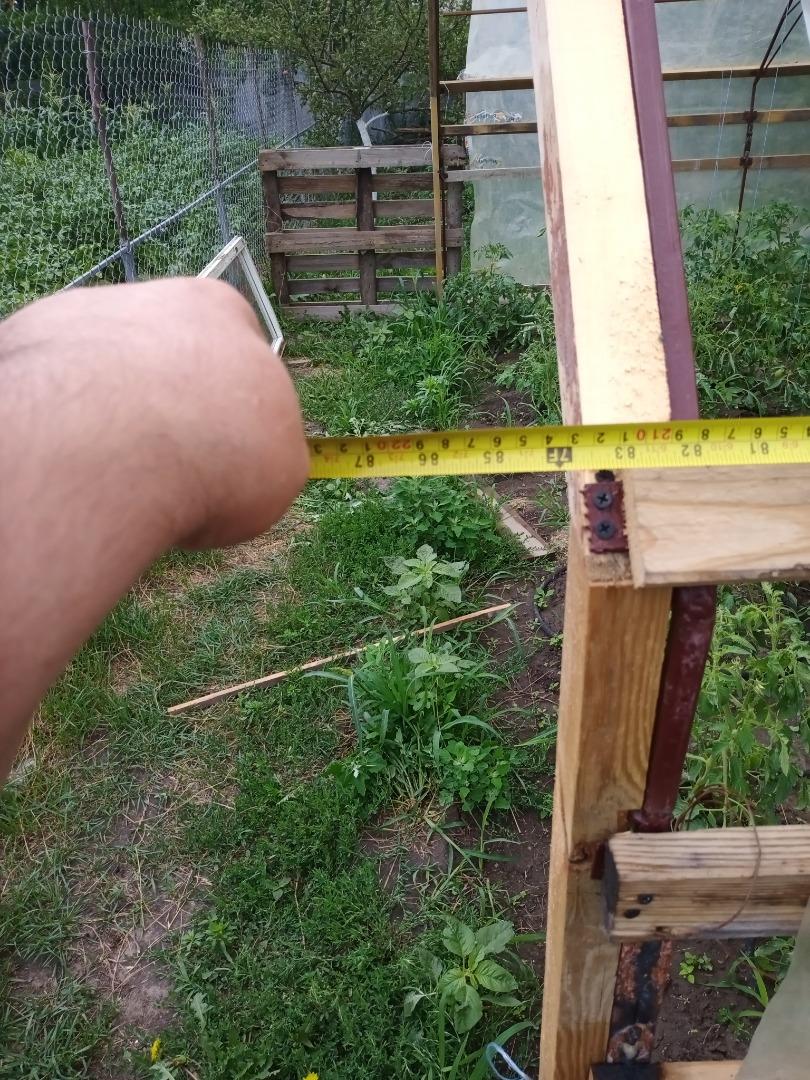
Final length (+ 4 m, because 5 m was measured with a tape measure)
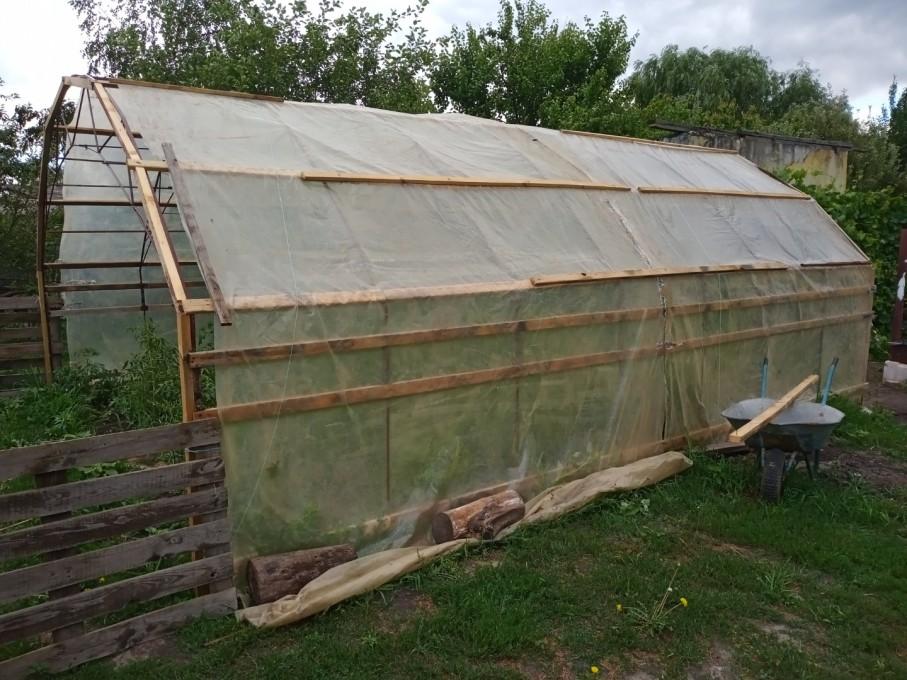
Temporarily, for the next season, the structure is covered with a film of 2 arcs (3 m wide) so as not to have to transfer a new film.
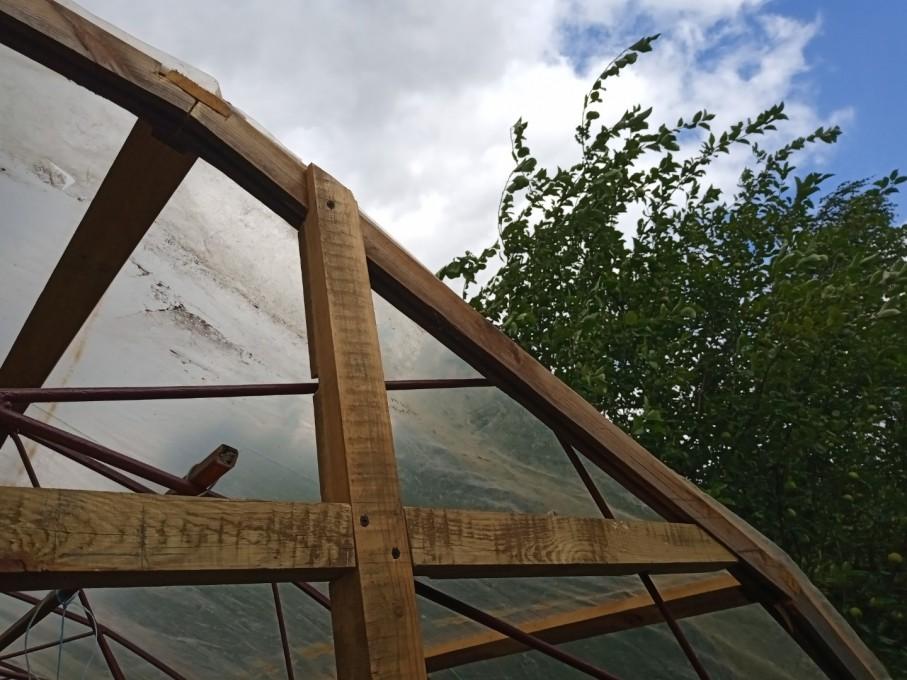
Method of fastening end structures. Notches and self-tapping screws.
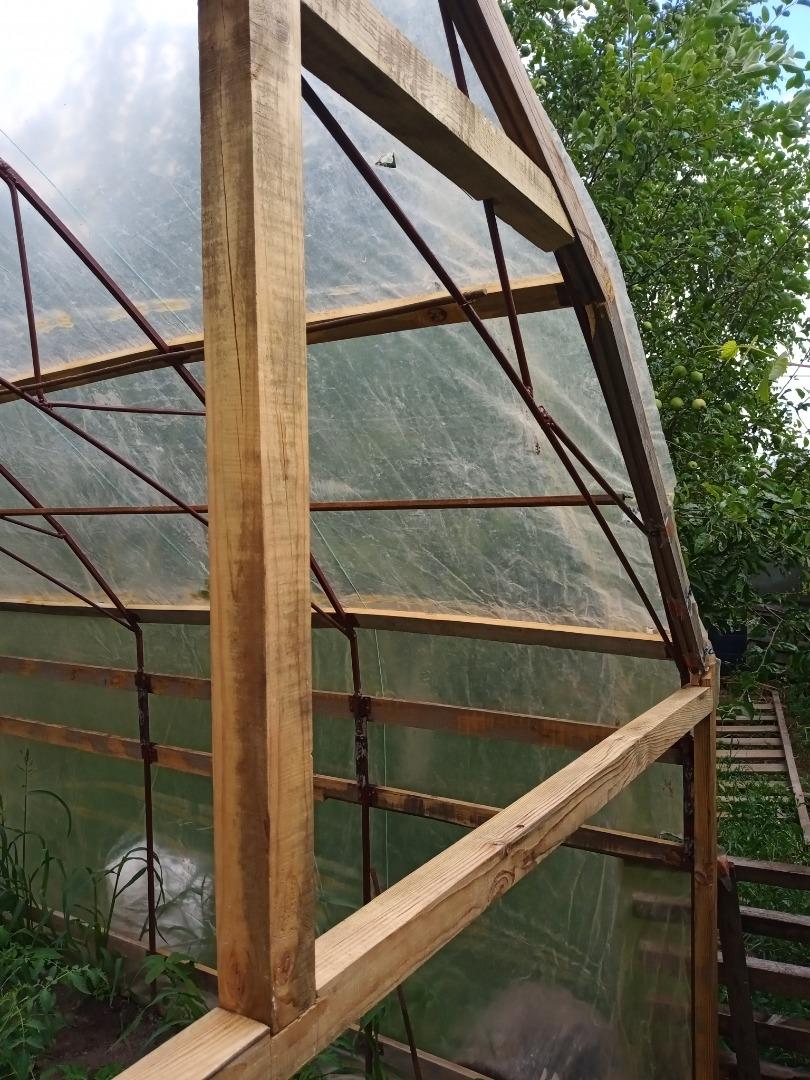
One more angle.
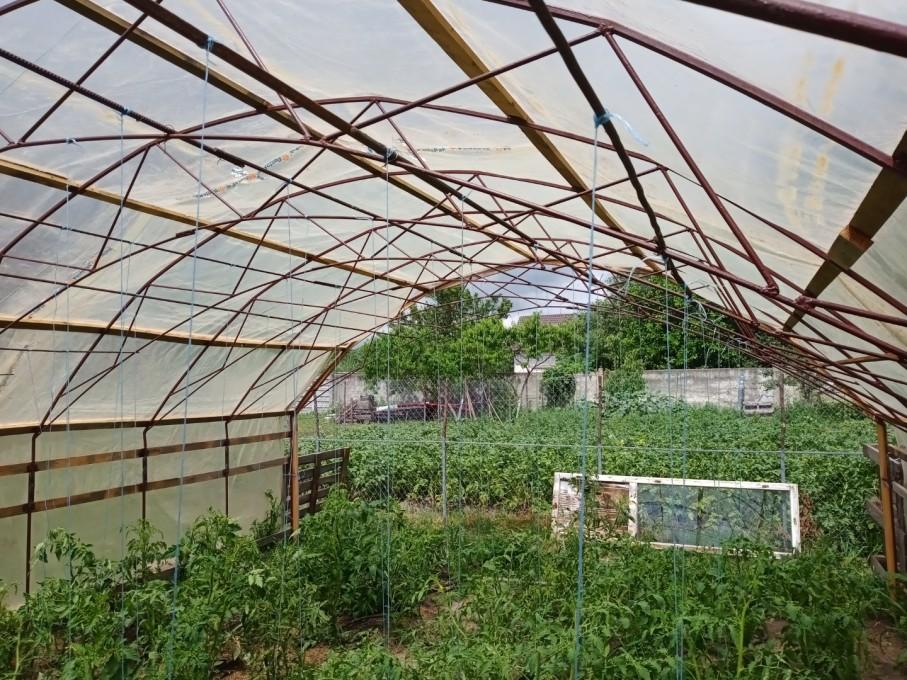
Tomatoes are already growing in the greenhouse, tied up, water is supplied and drip irrigation is arranged from leaking hoses.
In conclusion
We hope this experience will be useful to you. In general, in a leisurely manner, in fact on weekends, these works took about a month. With intensive, it will be much faster.
Of the design errors that were corrected on the spot - only a mistake with the height of the racks. So pay attention to this and measure the assembled racks with arches on the ground for height.
You can do without a wooden crate, but then you have to be clever with the connection with metal (the same rod, for example), and how to fix the film. The frame must be painted. It is also advisable to put on the arch, for example, a polyethylene pipe with a diameter of 20 cm, cut lengthwise. It is labor intensive, but the film will not rub off in the contact areas.
The greenhouse can be heated with the same stove (we will talk about heating greenhouses in the following articles) to extend the season. But this is additional trouble that should be justified. But it will certainly not be superfluous during frosts, as in the 2020 season.
Good harvest and satisfaction with the result!
[email protected]